Note: This guide is written for aaPanel hosting panel, but the steps are the same for all server panels.
Download & Extract
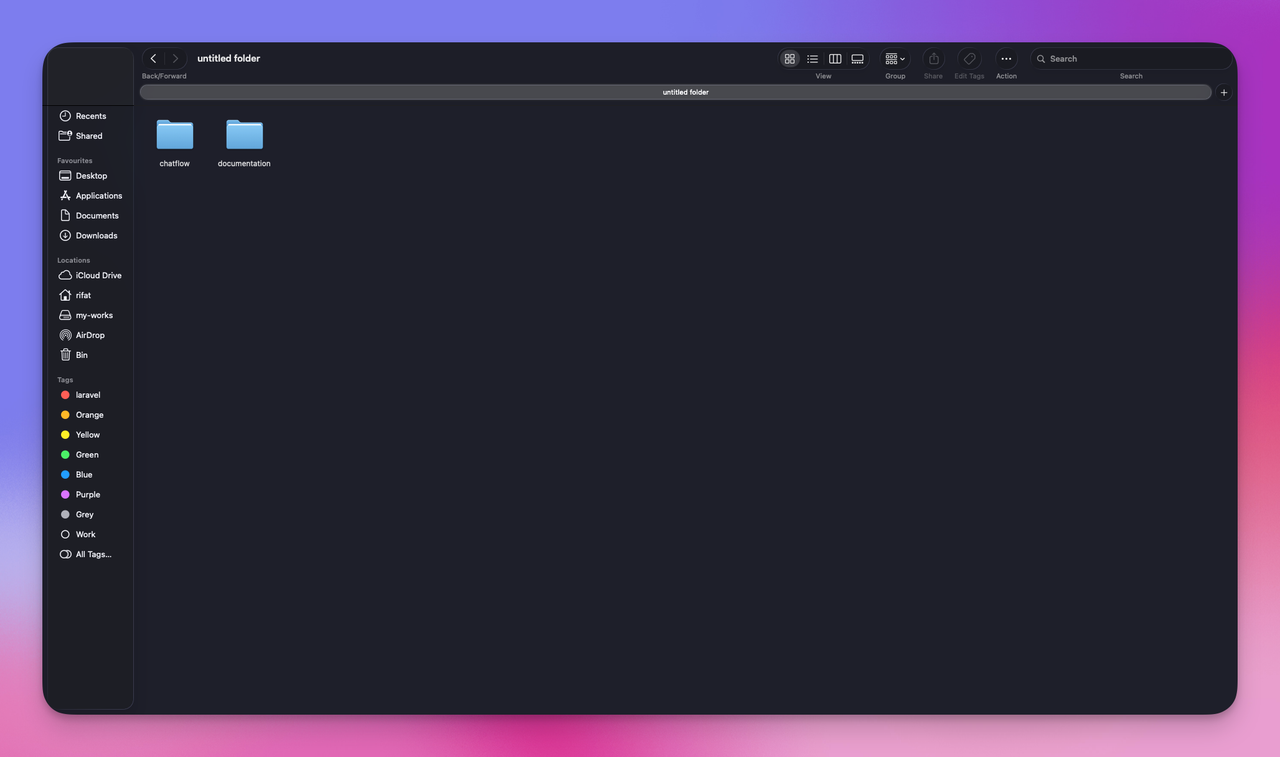
Download the file from Codecanyon and extract it on your PC. You will get 2 folders:
- Documentation
- ChatFlow
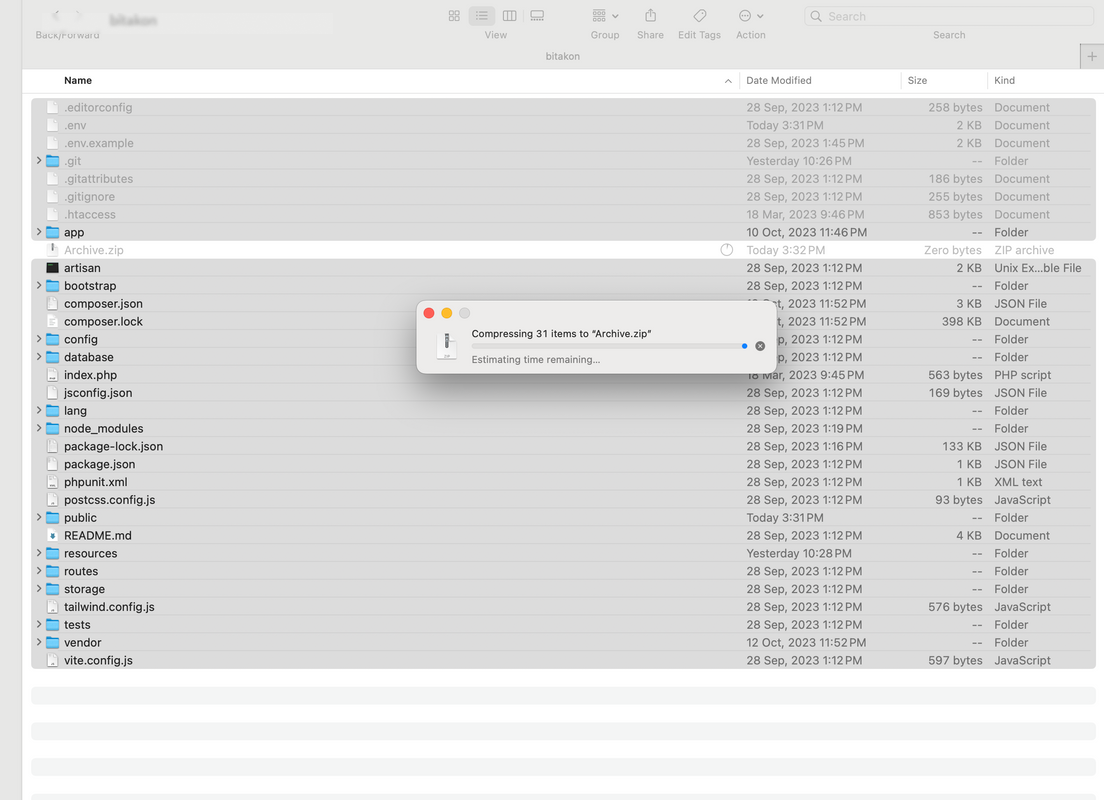
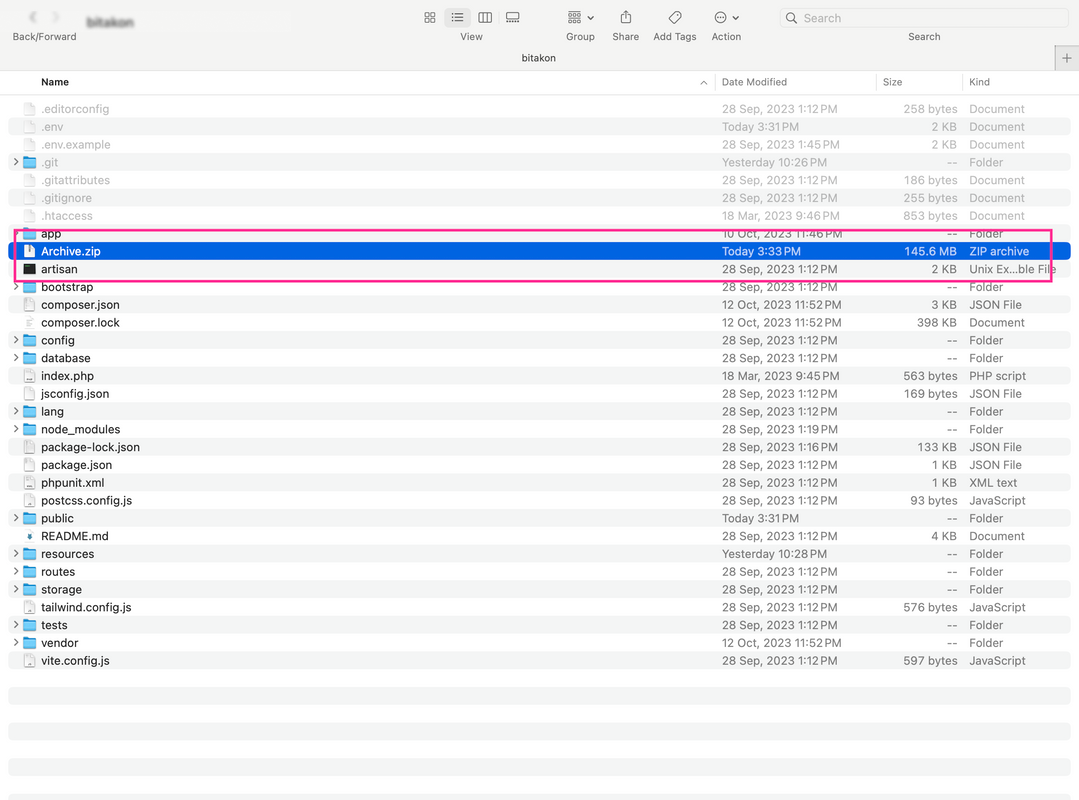
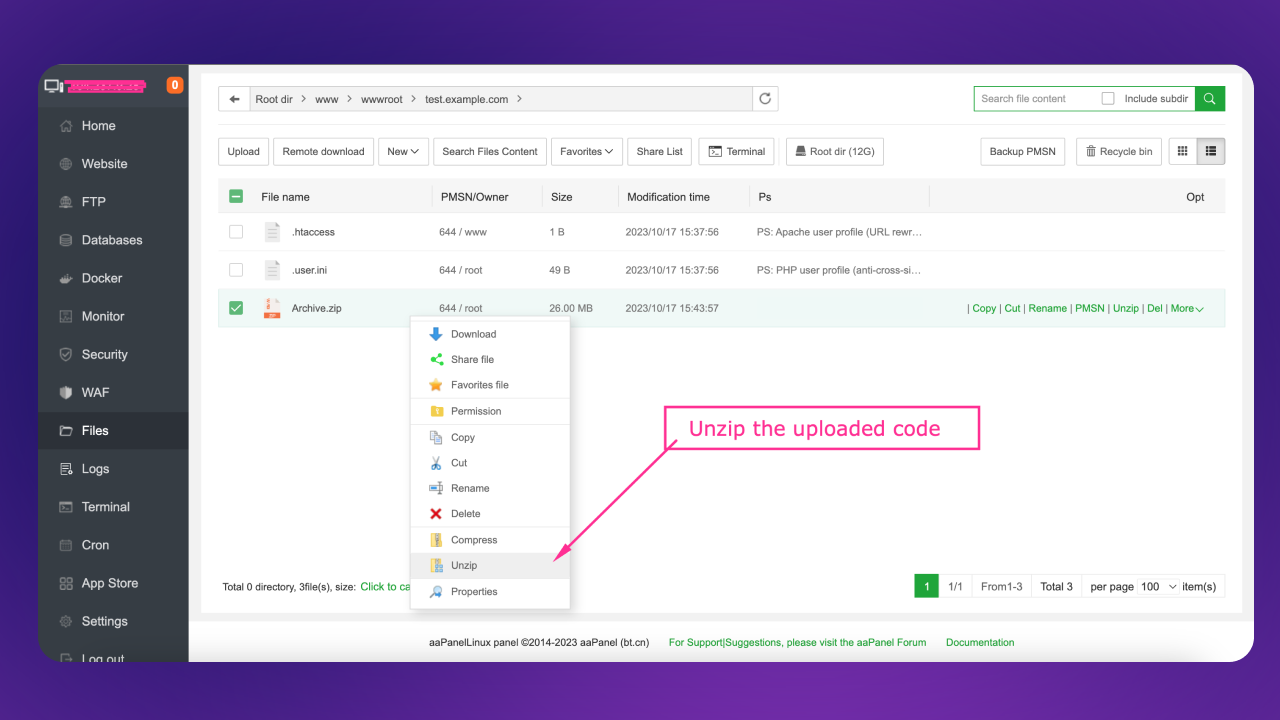
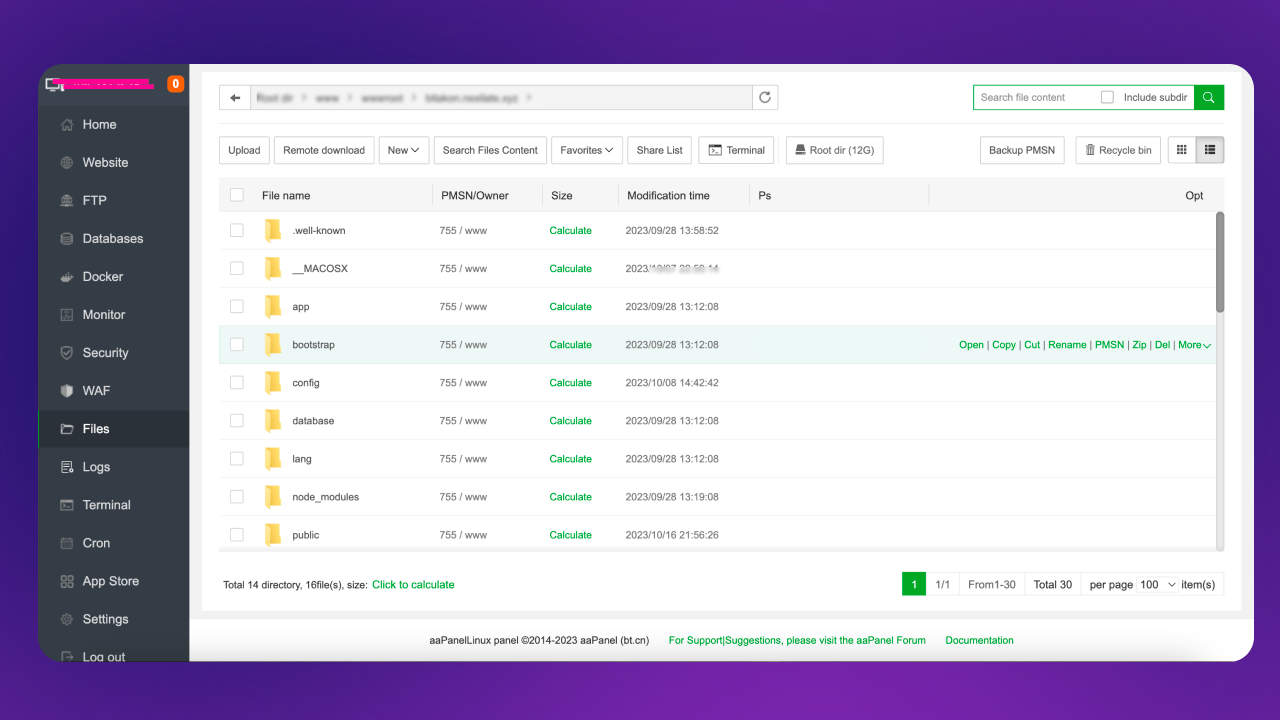
Open the ChatFlow folder and zip all files. Upload it to your domain root (server) using FTP or File Manager.

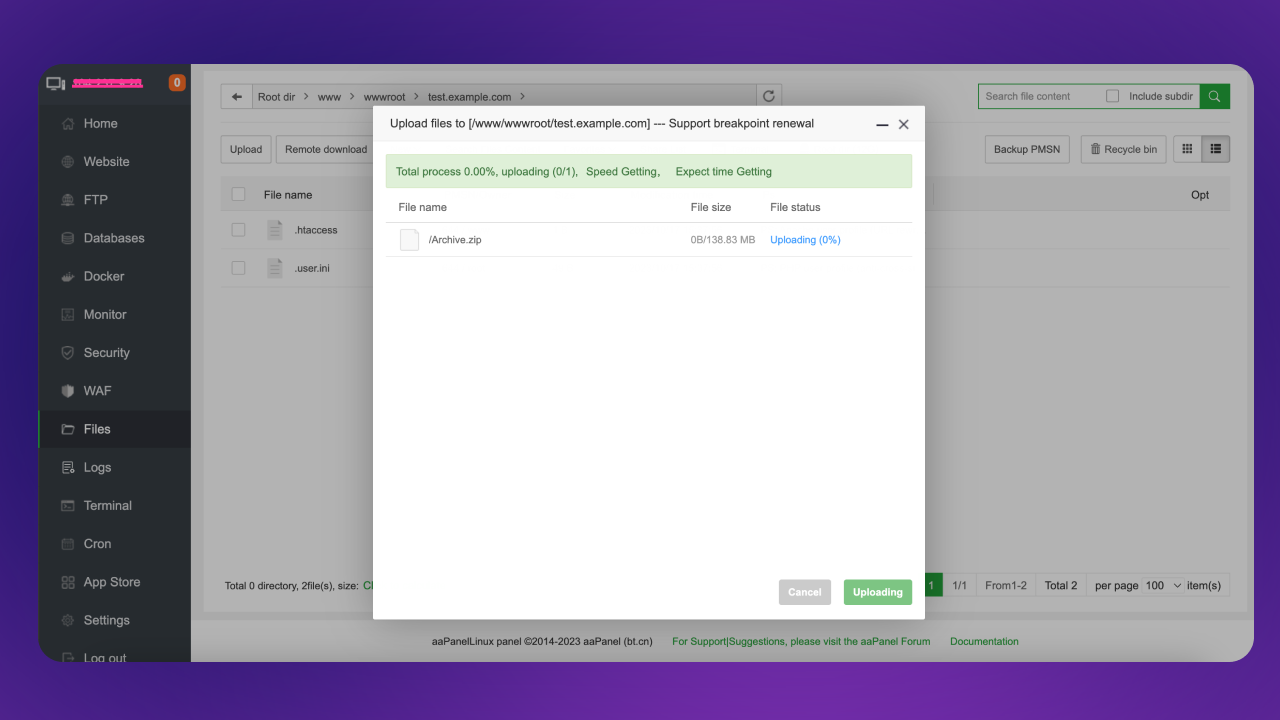
Step 1: Upload to Server
Login to your control panel and upload the ZIP file to your server.
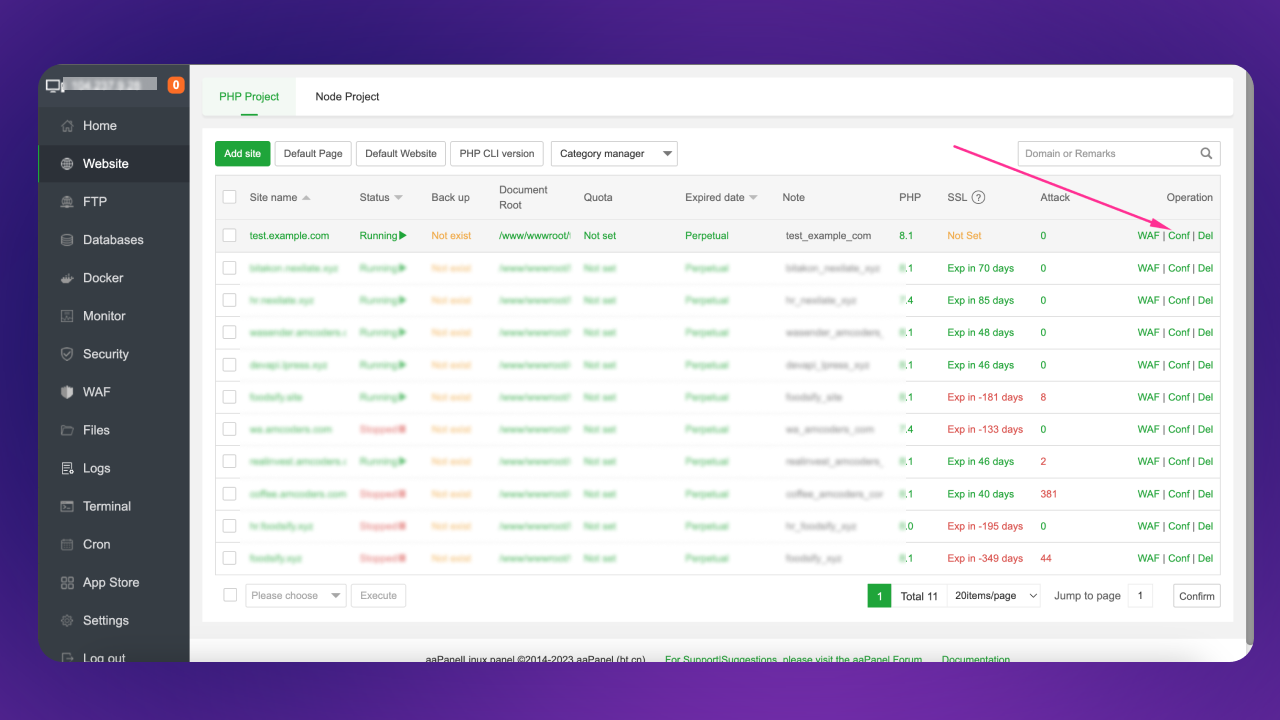
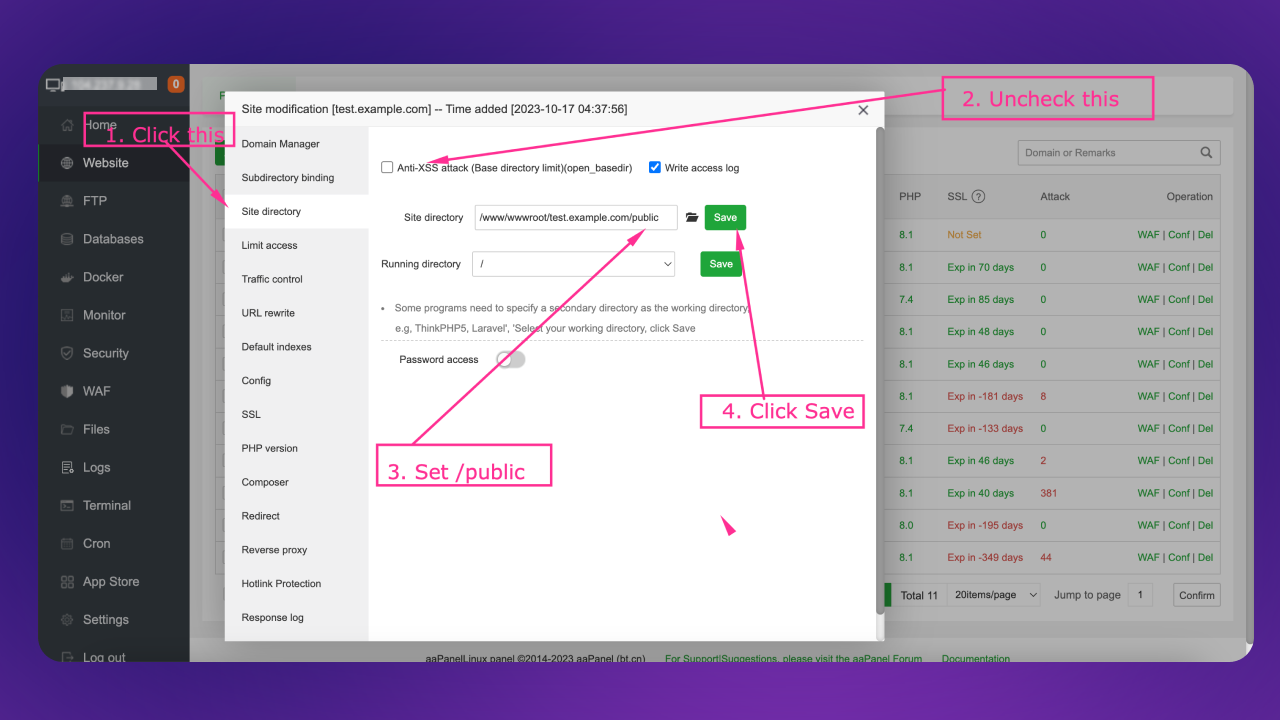
Note: This is based on Laravel framework. The root folder is /public. You have to set your site directory to /public (e.g., domain-root/public).
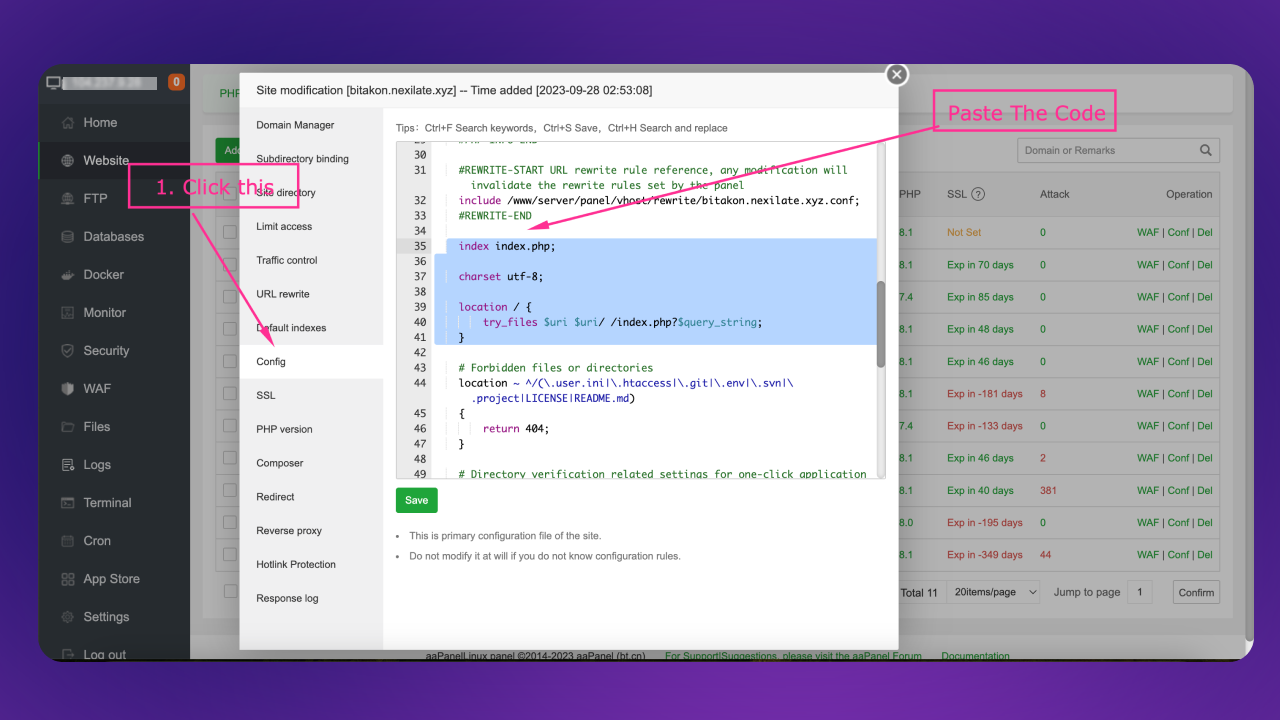
Go to your website list, select your domain, and click Config.
Note: If you are using NGINX, add these lines to your config file
Laravel Docs.
If you are using Apache, you can skip this step.
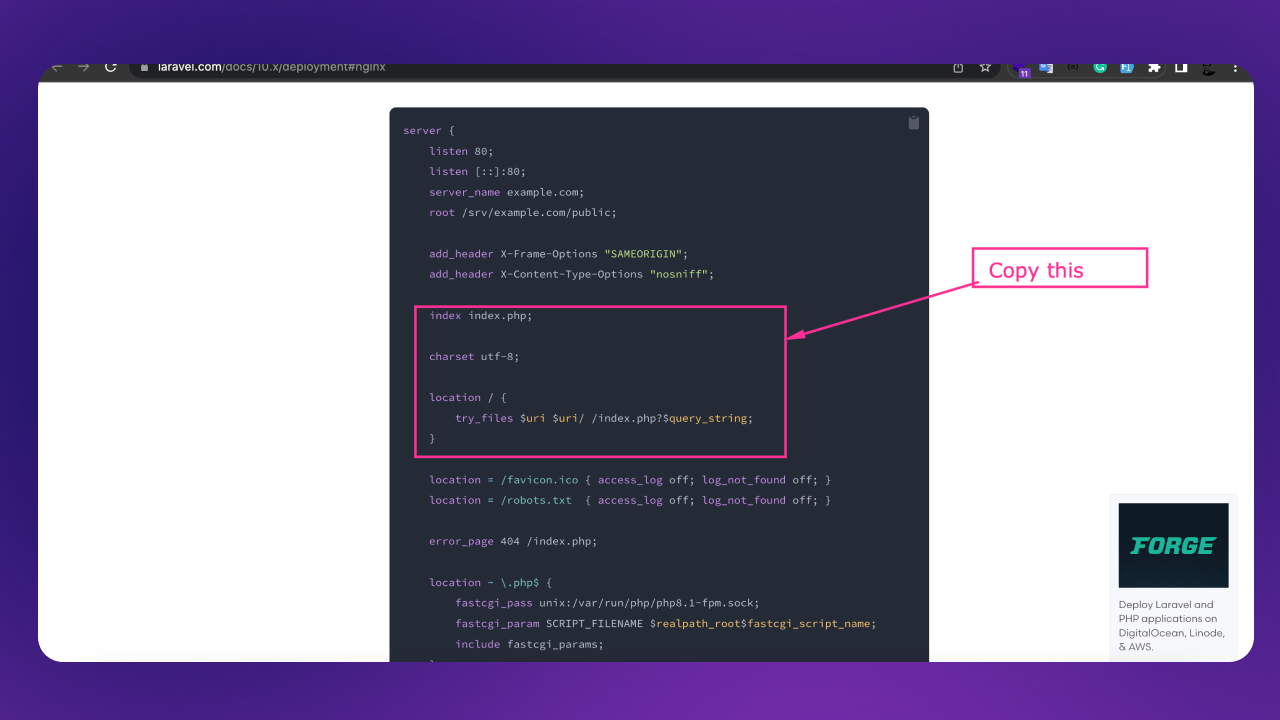
index index.php;

charset utf-8;
location / {
  try_files $uri $uri/ /index.php?$query_string;
}
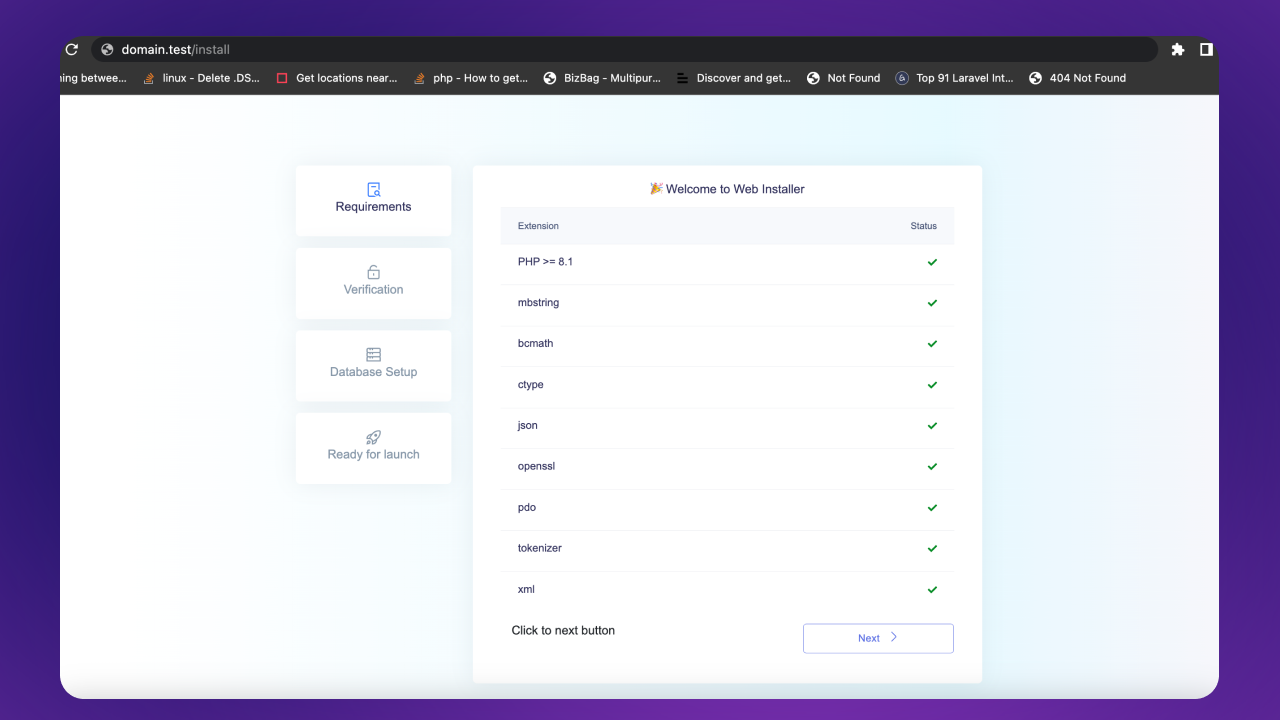
Step 2: Run Installer
Go to your domain install page:
http://domain.test/install
Make sure all server requirements are fulfilled, then click Next.
Set folder permissions:
chmod -R 775 /webroot/.env
chmod -R 775 /webroot/storage
chmod -R 775 /webroot/bootstrap/cache
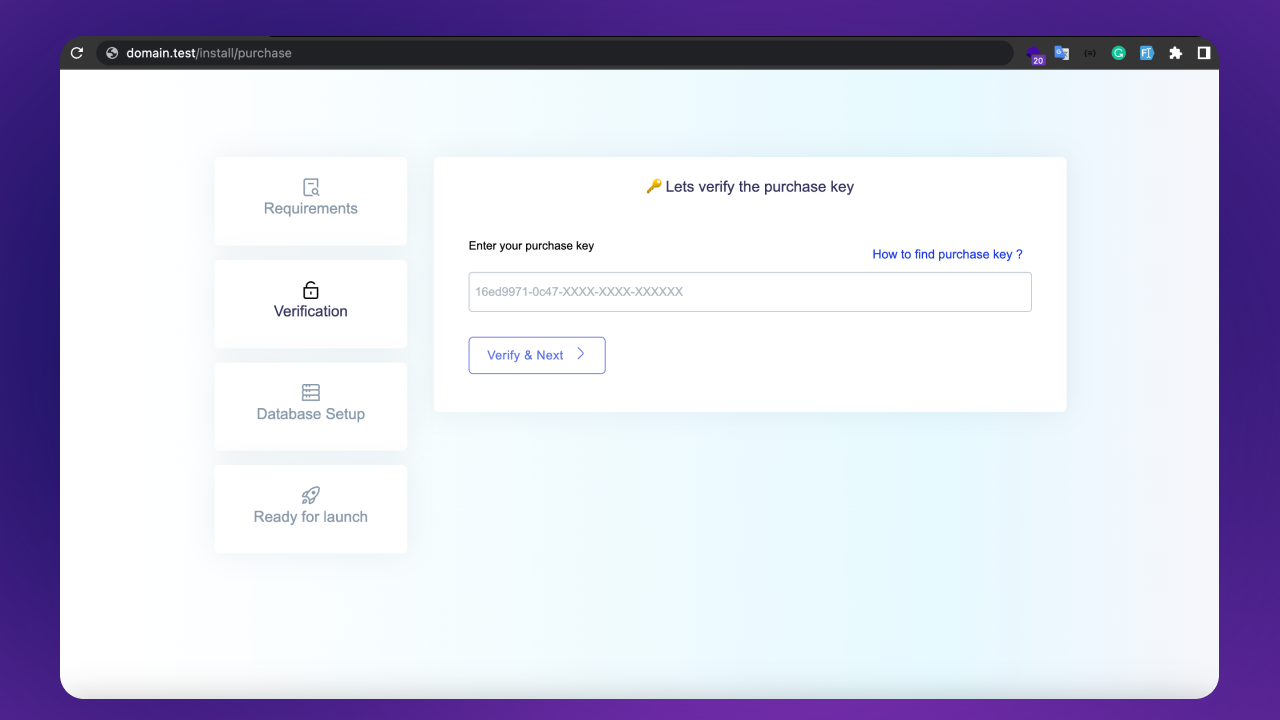
chmod -R 775 /webroot/public/uploadsStep 3: Enter Purchase Key
Click the Next button if all required extensions are enabled:
Enter your purchase key.
Where to find your purchase code (opens in a new tab)
Note: You can use the license for one site only, either development or production.
Create Database
Go to your control panel → Databases.
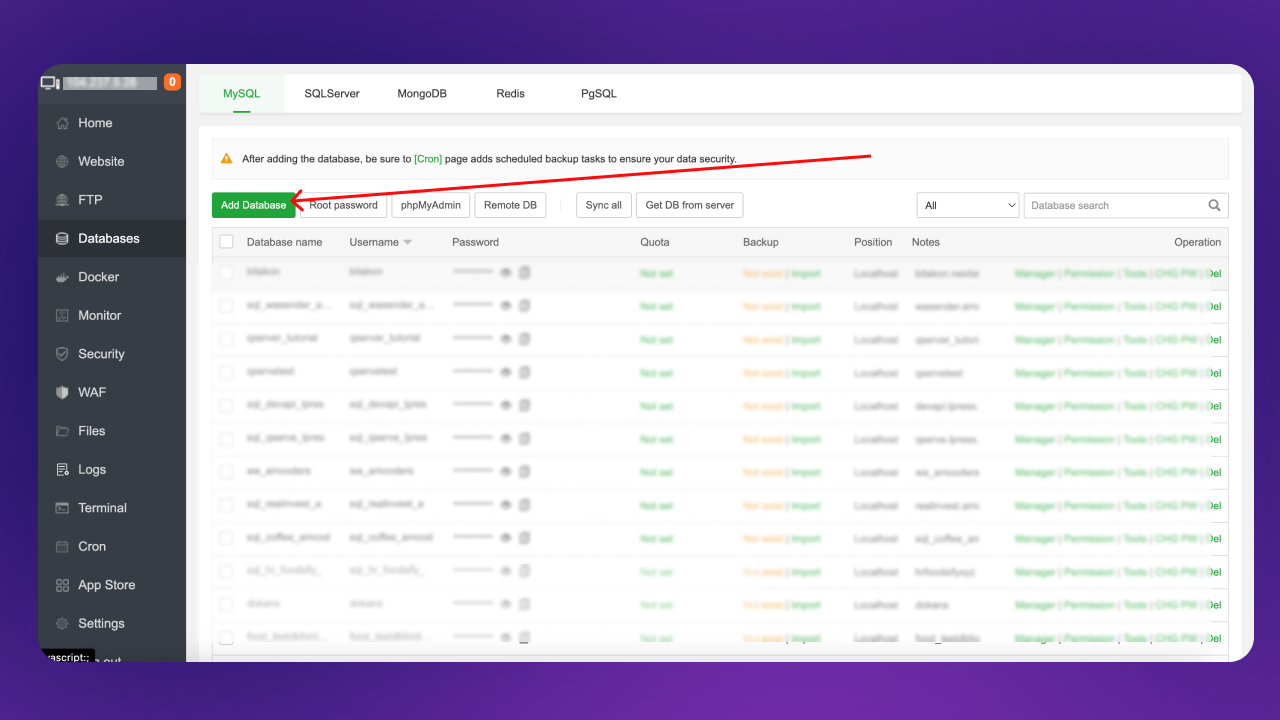
Enter the database name, username, and password:
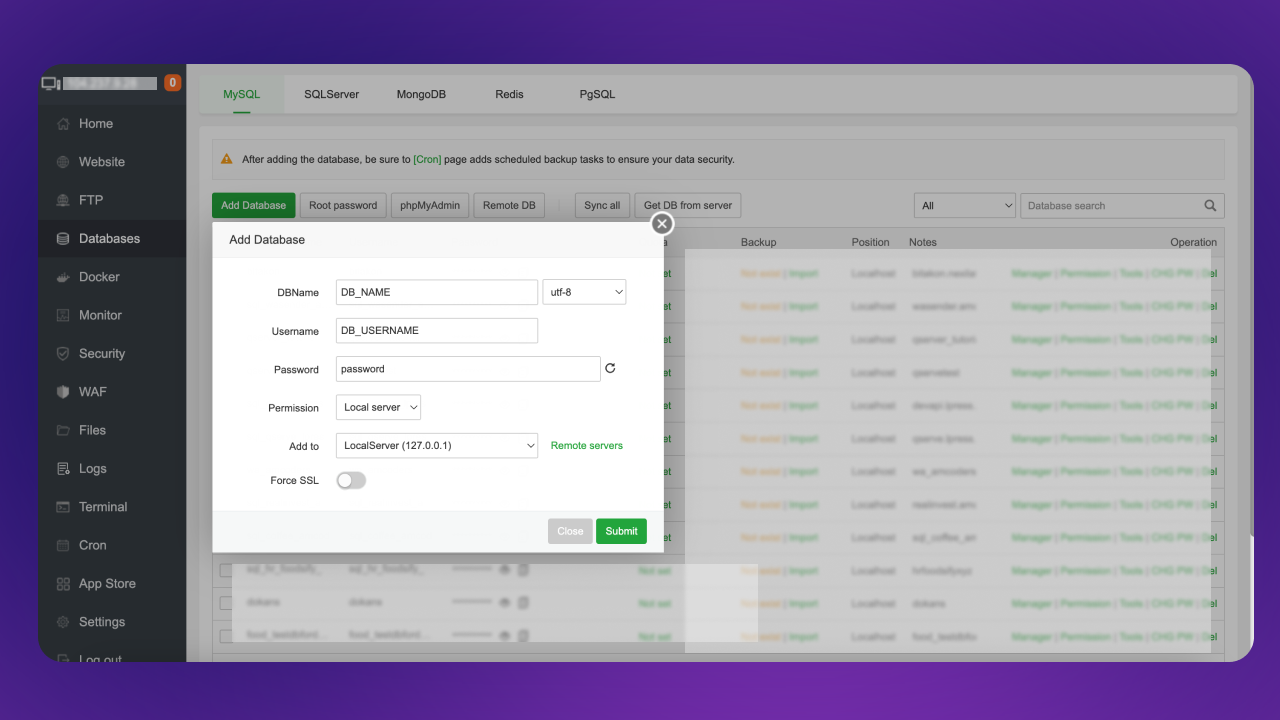
Copy the credentials somewhere safe and click Submit.
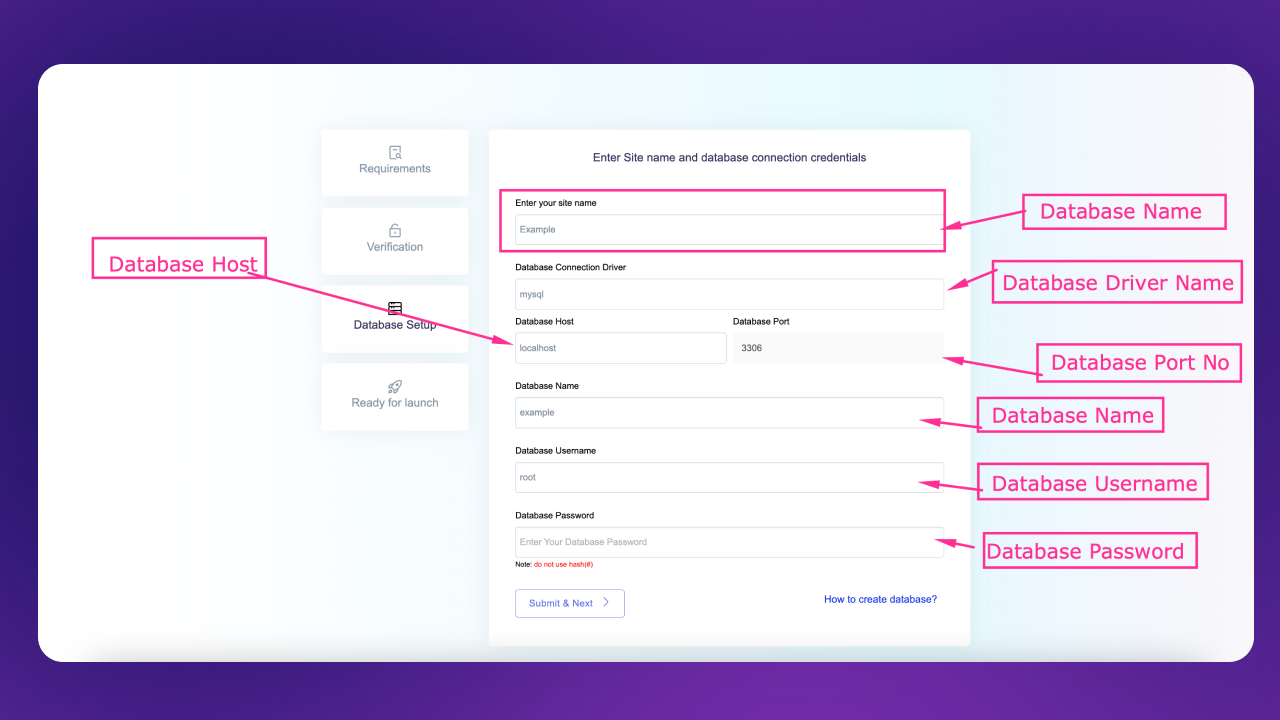
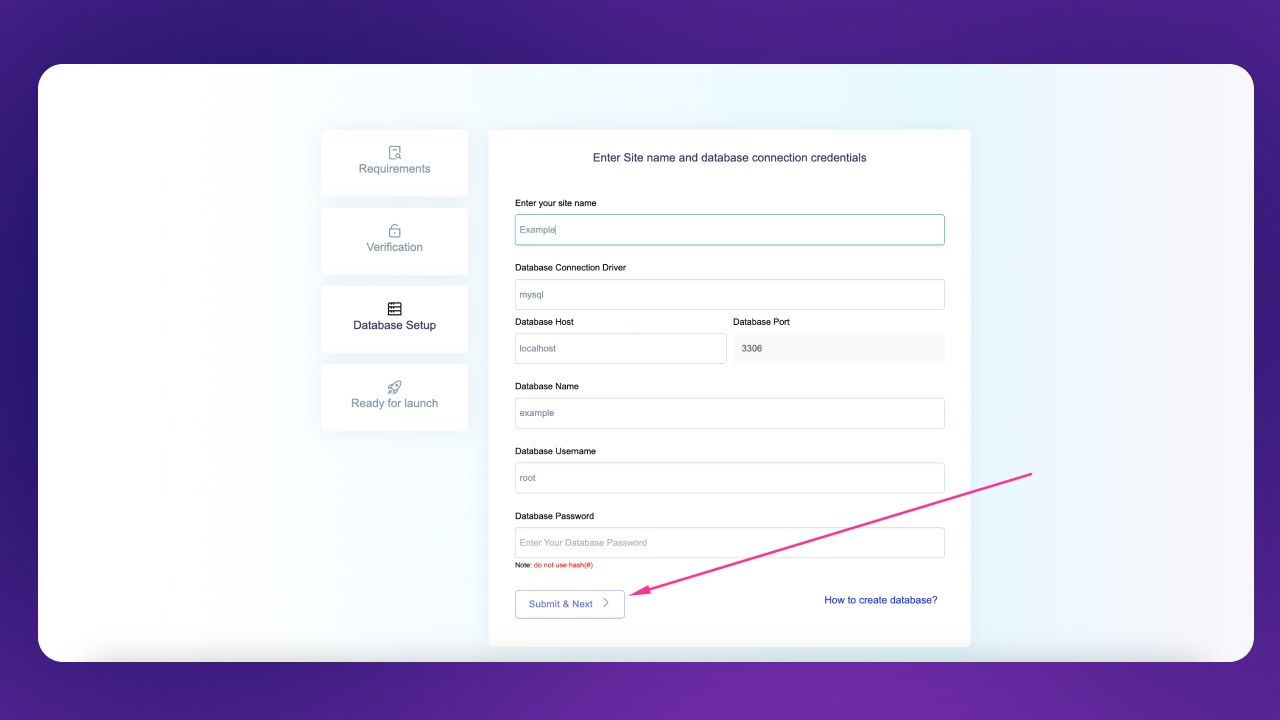
Step 4: Site & Database Setup
Enter your site name and database credentials:
After filling the form, click Submit & Next:
It may take some time depending on your server performance.
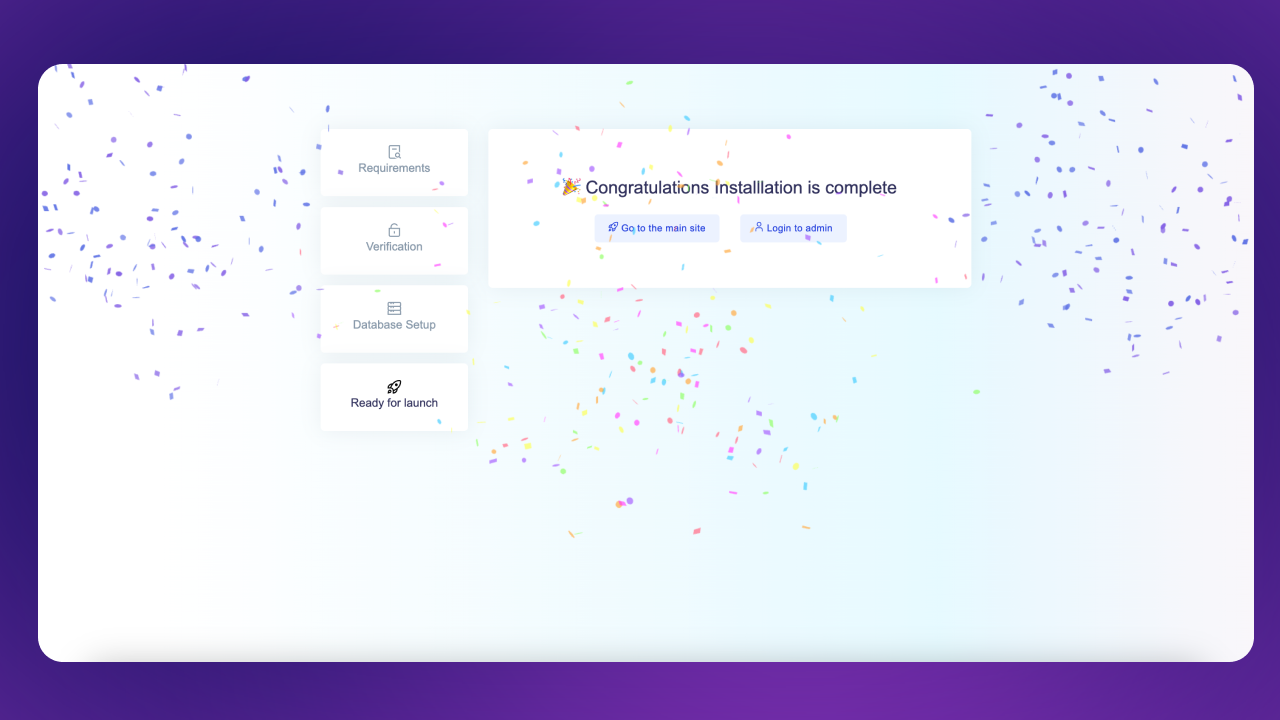
After installation, it will automatically redirect to the Installation Complete page:
Admin Panel Credentials
Admin Panel:
https://your-domain.com/login (opens in a new tab)
Email: admin@admin.com
Password: password